

Key Takeaways
Why Setup Matters More Than Most People Think
The way a device is configured during its first hour of use has a real effect on how well it performs over time. A rushed setup - skipped updates, mismatched chargers, default settings left untouched - tends to produce a device that feels sluggish, drains fast, or behaves unexpectedly. None of this is the device's fault; it's the setup's.
The steps below apply broadly across smartphones, tablets, smart TVs, laptops, and most consumer gadgets. The specifics vary, but the sequence is remarkably consistent. If you're building out a household from scratch, our guide to electronics for first-time households covers the bigger picture of what to prioritize and why.
What you will need
Gather what's on that list before unboxing. Two minutes of prep now eliminates the most common mid-setup interruptions.
What You'll Need
Most of these items come in the box. The ones that don't - your Wi-Fi password and account credentials - are the pieces people most often realize they need only after they've already started.
USB or proprietary charging cable
Charges the device before and during initial setup.
Power adapter or wall plug
Supplies power from the outlet to the device via the charging cable.
Smartphone or computer
Useful for looking up setup instructions or verifying Wi-Fi credentials.
Small bowl or tray
Keeps small accessories, screws, or adapters from getting lost during unboxing.
Unbox carefully and take inventory
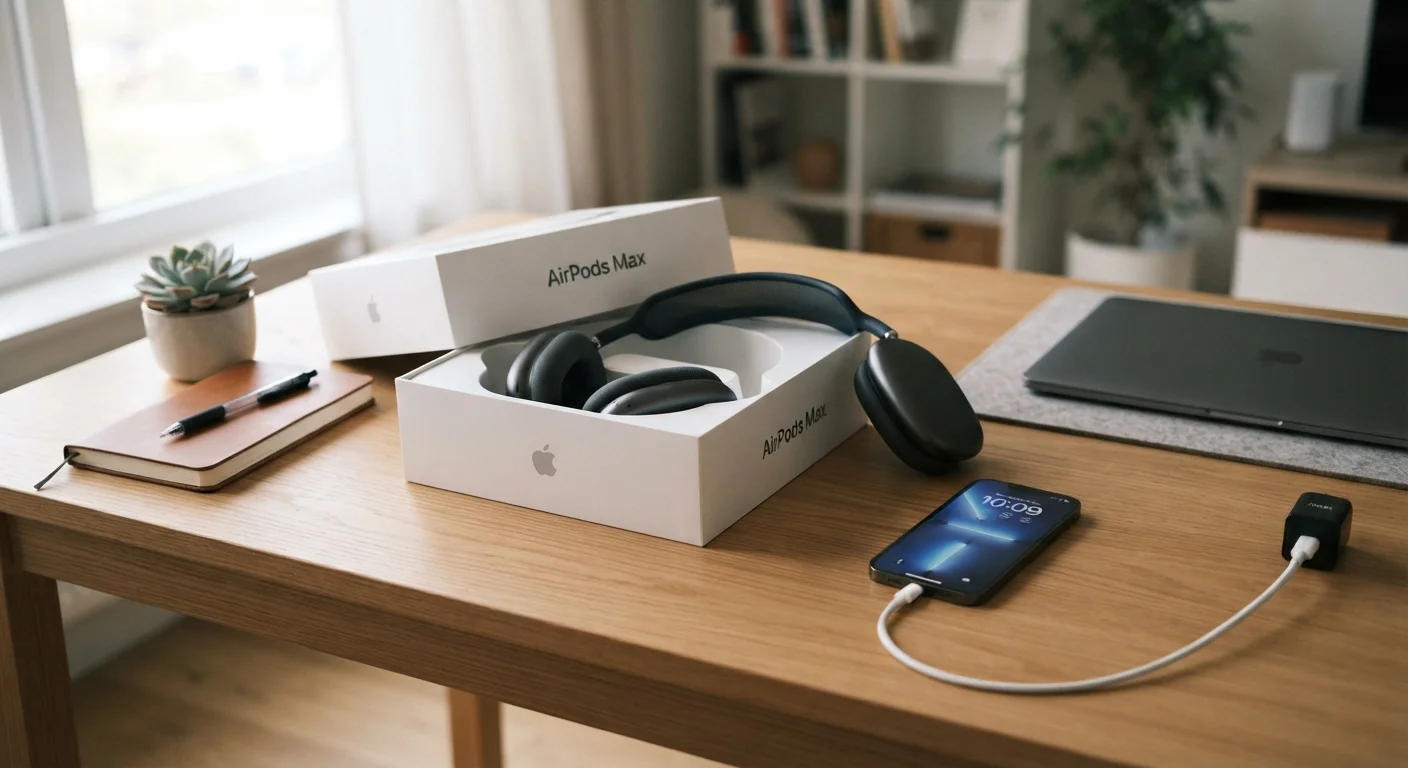
Remove all packaging layers slowly and set each item aside. Most boxes include the main device, a charging cable or adapter, a quick-start card, and sometimes a SIM tool or extra accessories. Cross-reference against the box label or any included checklist - missing items are far easier to address before you've discarded packaging.
Charge before powering on
Plug the device in and let it charge to at least 50% before you start setup - ideally 80% or more. Many devices ship with a partial charge, and running a software setup while the battery drains can cause unexpected shutdowns mid-process. This is a common source of corrupted initial configurations.
Power on and choose your language and region
Press the power button and wait - first boot takes longer than normal. Select your language and region carefully. These settings affect keyboard layouts, date formats, and sometimes which app versions are available to you. On most devices, you can change these later, but getting them right now saves a secondary trip through settings menus.
Connect to Wi-Fi
When prompted, select your home network from the list and enter your password. If your network doesn't appear, it may be a 5 GHz-only network and the device may only support 2.4 GHz - check your router settings or temporarily enable a 2.4 GHz band. Most home setups broadcast both automatically. Have your Wi-Fi credentials ready; entering a wrong password here is one of the most common setup stall points.
Run the initial software update
After connecting to Wi-Fi, the device will typically check for updates automatically. Let it complete before moving on. Firmware and software updates released after the device shipped often fix connectivity bugs, improve battery behavior, and patch security gaps. Skipping this step and jumping straight to personalization is tempting, but the update can take time and will interrupt you later if deferred.
Sign in or create an account - on your terms
Most devices prompt you to create or log into an account (Apple ID, Google Account, or a manufacturer account). This is often required for app stores and cloud backups, but some features can be skipped initially if you're not ready. Read each screen - many setup flows include optional data-sharing or marketing consent that defaults to opt-in. Uncheck what you don't want before moving forward.
Adjust core settings before installing anything
Before downloading apps, spend five minutes on settings that affect daily use: display brightness, font size, notification defaults, and location permissions. Disable any pre-installed apps you know you won't use - they run in the background and consume resources. Setting these baselines now means your experience reflects your preferences from day one rather than factory defaults designed for the average user.
After Setup: What to Do Next
Once the device is running and updated, two things are worth doing before you call it done. First, register the device with the manufacturer if prompted - this is typically how warranty claims are tracked. Second, note where your warranty documentation is stored, whether physical or digital.
If something doesn't behave as expected right away, don't assume it's broken. Many early quirks resolve after a second restart or a brief period of background indexing. Our troubleshooting checklist walks through the most common early problems and their simple fixes before you consider a return.
Back Up Before You Customize
Once your device is set up and updated, take an initial backup before adding apps or personal data. On most devices this takes under five minutes and gives you a clean restore point if anything goes wrong during your first week of use. Cloud backup options are usually presented during setup - enable one if you didn't at that stage.
Finally, it's worth understanding what ownership of this device will cost beyond the purchase price. Subscriptions, accessories, and energy draw add up. See the hidden costs of owning electronics for a clear breakdown of what to factor into your budget going forward.