

Key Takeaways
Summary
18 items · 45–90 minutes
Why This Checklist Matters
A security deposit is typically one to two months' rent — often the largest upfront payment a renter makes outside of first month's rent. Yet many tenants hand over that money with minimal documentation, no knowledge of their state's legal protections, and little leverage if a dispute arises later.
This checklist is designed to close those gaps. Work through it before you pay. If you're also evaluating a home purchase, our buyer's checklist covers a parallel process for purchase agreements.
Deposit Law Varies by State
Security deposit rules in the US are set at the state level, and they differ substantially. Some states require deposits to be held in separate escrow accounts; others do not. Penalty provisions for landlords who fail to return deposits on time vary from single to triple damages. Always look up your specific state's statutes — your state attorney general's website or a local tenant rights organization is a reliable starting point.
Security deposit law is governed at the state level in the US, and in some cases, city or county ordinances add additional protections. The steps here reflect widely applicable best practices, but you should verify the specific rules in your jurisdiction before signing anything.
Tools You'll Need
Having the right tools ready makes the documentation process faster and more reliable. Gather these before your move-in walkthrough.
Smartphone with timestamp-enabled camera
Capture dated photo and video evidence of the unit's condition at move-in.
Move-in condition checklist form
A room-by-room written record of pre-existing defects, signed by both parties.
Cloud storage account
Preserve timestamped copies of photos, video, receipts, and signed documents in a retrievable format.
State tenant rights guide
Your state attorney general or housing agency typically publishes a free guide to deposit rules, limits, and renter protections.
County assessor or recorder website
Verify property ownership records to confirm the landlord has legal authority to rent the unit.
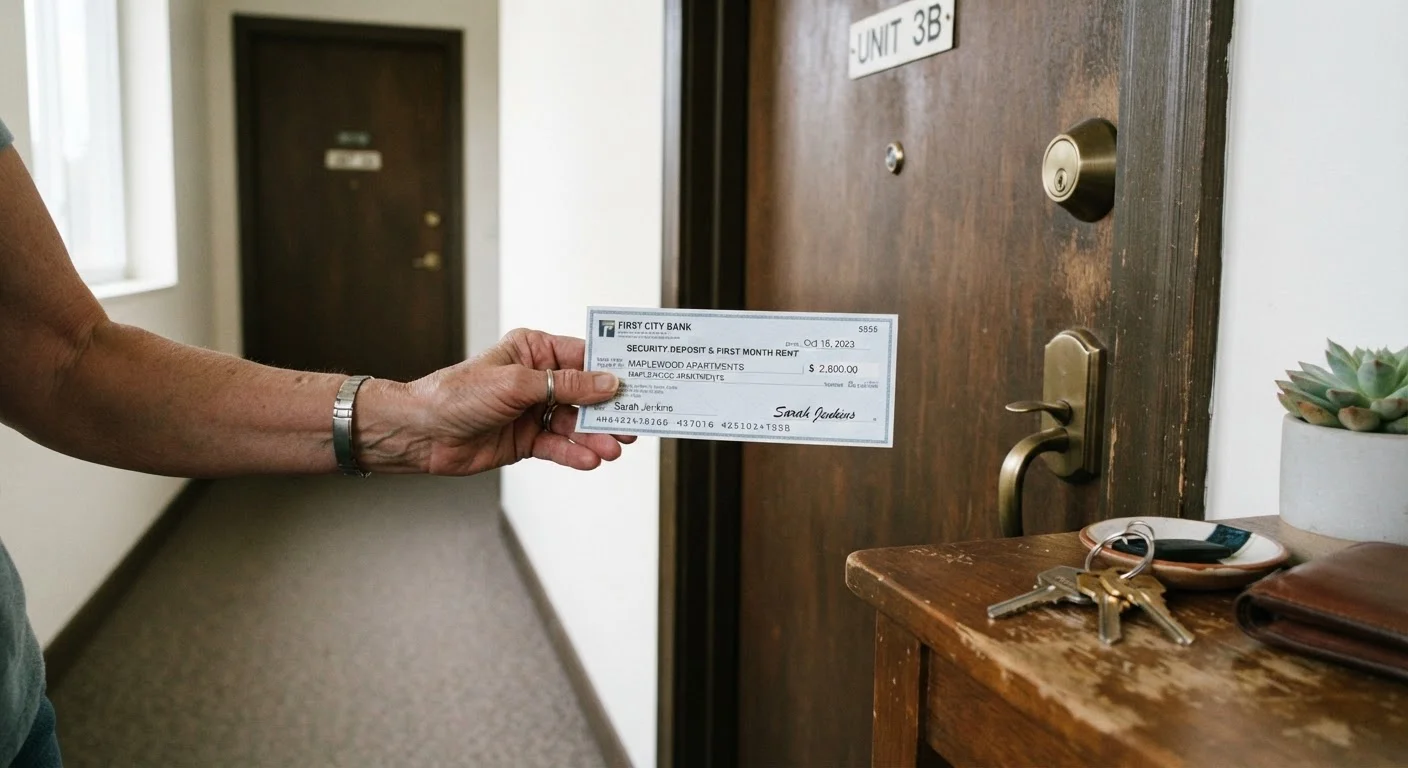
Personal check or money order
Provides a traceable payment record — avoid paying in cash.
The Full Checklist
Work through each group in order. Items marked must are non-negotiable — skipping them puts your deposit at meaningful risk. Should items are strongly recommended, and nice-to-have items add an extra layer of protection where time allows.
Know Your State's Rules
Verify the Landlord and Property
Document the Unit's Condition
Secure Proper Payment Documentation
Verbal Agreements Offer No Protection
If a landlord promises to overlook a pre-existing stain, broken fixture, or other defect, get it in writing before you pay. Verbal assurances are nearly impossible to enforce in a deposit dispute. Any acknowledged damage should appear on a signed move-in condition form or in a written email exchange. See our advice on documenting landlord communications for how to handle these conversations professionally.
Once you have moved in and documented everything, the work doesn't stop. Your behavior throughout the tenancy — and how you communicate with your landlord — shapes how a future deposit dispute plays out. See our guide on landlord communication and documentation for practical advice on maintaining a clear paper trail.
After You Pay: What Comes Next
Paying your deposit is the start of a process, not the end of it. Store your move-in documentation — photos, video, the signed move-in checklist, and your deposit receipt — in a location you can access years later. Cloud storage with a dated upload timestamp provides a reliable record.
When it's time to leave, the same documentation becomes your defense. Many tenants lose part of their deposit through avoidable oversights at move-out; our guide on what tenants often get wrong at move-out explains where things commonly go wrong. If a landlord does withhold your deposit without adequate justification, you have legal options — the deposit dispute process guide walks through those steps in detail.
This article provides general information about the US rental process and is not legal or financial advice. Deposit laws vary by state and locality. Consult a licensed attorney or your local tenant rights organization for guidance specific to your situation.