

Key Takeaways
Why Caulk Fails Before Its Time
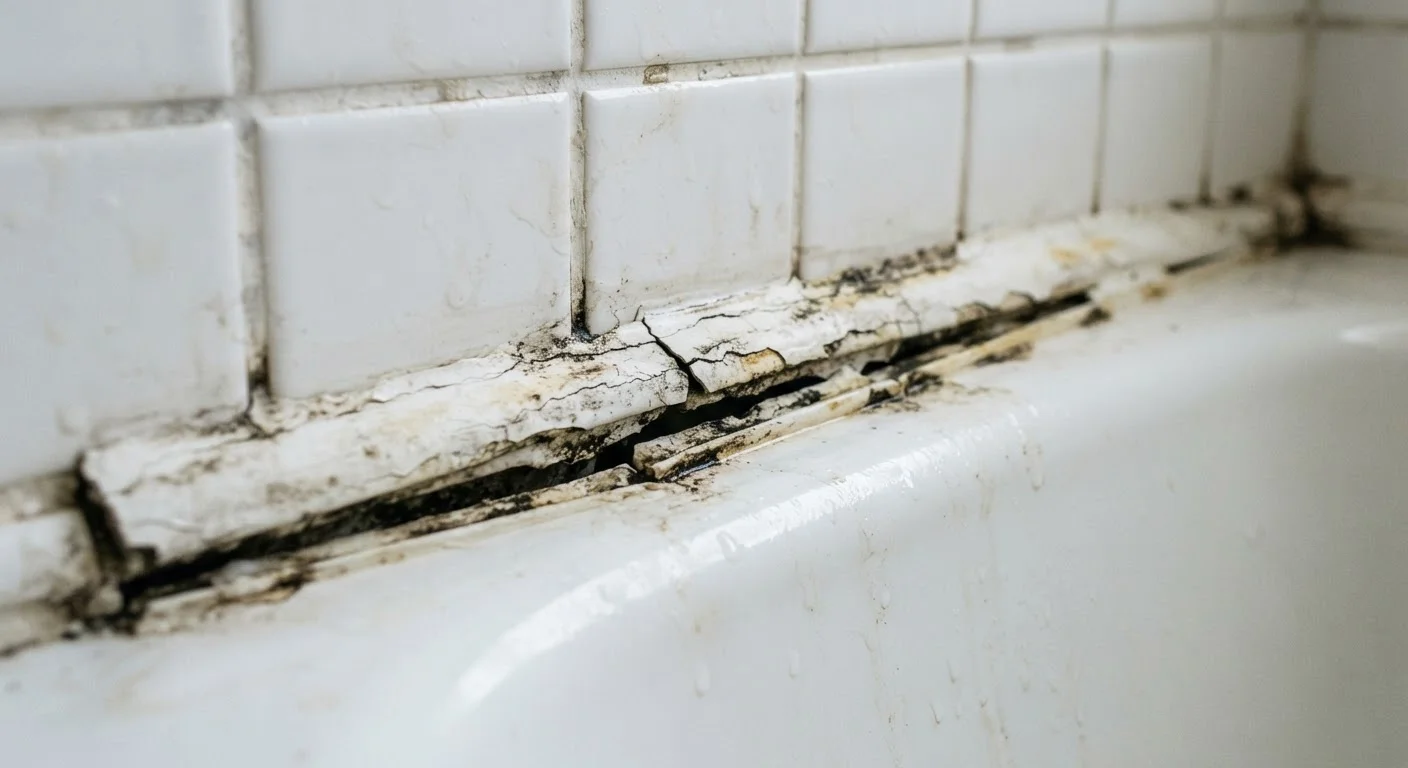
Most homeowners replace caulk because it looks bad - discolored, cracked, or pulling away from the surface. What's rarely considered is why that happened, often within a year or two of application. The answer is almost never the caulk itself. It's the conditions under which it was applied and the choices made before the tube was even opened.
Caulk is a flexible sealant designed to bridge two surfaces that move slightly - think the joint between a bathtub and a tile wall, or a window frame and exterior siding. When it fails early, something interfered with adhesion, flexibility, or cure. Understanding those failure points lets you fix the problem permanently rather than repeating the same cycle every season.
Issues like moisture infiltration from failed caulk can compound over time, affecting more than just the surface - just as overlooked exterior gaps do. For a broader look at how water entry points compound, see our guide to what homeowners get wrong about gutters.
Applying new caulk directly over old caulk without removing it first.
Why it happens: Removing old caulk is tedious, and the new layer seems like a quicker fix. Many homeowners assume fresh caulk will bond through or seal over the deteriorated material.
Skipping surface drying time and applying caulk to damp surfaces.
Why it happens: It's easy to clean a surface, then immediately start caulking without allowing adequate drying time - especially in a bathroom that was recently used.
Using an interior latex caulk in a wet or exterior environment.
Why it happens: General-purpose caulk is convenient and widely available, which leads many people to assume it works everywhere. Product labeling isn't always prominently checked.
Applying too thick a bead in a single pass.
Why it happens: The reasoning seems sound - more caulk means a better seal. In practice, thick beads dry unevenly, skin over on the outside while remaining soft inside, and crack under movement stress.
Caulking in extreme heat, cold, or high humidity.
Why it happens: Many caulk jobs happen reactively - a leak is noticed in winter or a renovation wraps up on a humid summer day - so timing isn't always controlled.
How to Make Your Next Caulk Job Last
Getting caulk right is less about technique and more about patience. The steps most people skip - cleaning thoroughly, waiting for surfaces to dry completely, removing every trace of the old sealant - are exactly the steps that determine whether a new bead lasts two years or ten.
5-10 yrs
Expected lifespan of properly applied caulk
Industry guidance from sealant manufacturers suggests well-prepped caulk in moderate-use areas can last five to ten years before requiring replacement.
~1 yr
Typical lifespan when prep steps are skipped
Contractors and home repair professionals commonly report that improperly prepped or mismatched caulk applications begin visibly failing within the first year.
Before applying, verify that the caulk you've chosen is rated for your specific location. Bathroom and kitchen caulks contain mildewcides that exterior formulas lack. Silicone caulk bonds well to glass and non-porous tile but won't accept paint. Paintable latex caulk works around trim but breaks down in standing-water zones. Reading the label takes two minutes and can save hours of rework.
Apply in moderate conditions - ideally between 50°F and 90°F with low humidity. After application, smooth the bead with a wet finger or a dedicated tool and resist the urge to use the space until cure is complete, which may take 24 to 48 hours depending on the product and conditions. Rushing that window is one of the most common causes of early adhesion failure.
Small maintenance habits across the home compound in similar ways. If you're evaluating where moisture and wear are quietly building up, our article on habits that shorten your home's plumbing life covers related ground worth reviewing.
Don't Caulk Over Active Mold or Mildew
If you see black or pink discoloration on or near the existing caulk, treat and remove it before resealing. Caulking over mold traps moisture and allows it to continue spreading beneath the new bead. Use an appropriate mold-killing cleaner, allow the surface to dry fully, and verify the mold is fully gone before proceeding. For persistent or widespread mold, consult a professional.