

Key Takeaways
Why Fluid Levels Matter
Your vehicle relies on a network of fluids to lubricate moving parts, regulate temperature, transmit force, and keep systems functioning safely. When any one of those fluids drops too low or degrades in quality, wear accelerates - sometimes silently - until a warning light appears or a component fails. Catching problems early through regular visual inspections is one of the most cost-effective habits any driver can develop.
This guide walks you through checking five key fluids: engine oil, coolant, brake fluid, power steering fluid, and windshield washer fluid. For a broader look at where fluid checks fit into your overall vehicle upkeep, see The Complete Guide to Routine Car Maintenance.
What you will need
Tools and Setup
The good news: you need almost nothing to check your fluids. A clean rag, your owner's manual, and a few minutes are the core requirements. Gloves are advisable when handling coolant or brake fluid, both of which can be harmful on prolonged skin contact.
Clean rag or paper towels
Wipe the dipstick clean before taking an accurate oil reading.
Flashlight or work light
Illuminate reservoirs and fluid lines in darker engine bays.
Disposable gloves
Protect your hands from coolant and brake fluid, which can be corrosive or toxic.
Vehicle owner's manual
Identify correct fluid specifications and exact reservoir locations for your make and model.
If you're weighing how much of your maintenance you want to handle yourself, our guide to DIY car maintenance vs. taking it to a shop lays out the honest trade-offs.
Step-by-Step: Checking Each Fluid
Follow the steps below in order. Performing them on a cold engine on a flat surface ensures the most accurate readings across every reservoir.
Park on a level surface and let the engine cool
Pull onto flat, stable ground and switch the engine off. Most fluids require a cool engine for an accurate reading - heat causes fluids to expand and can make levels appear higher than they are. Allow at least 30 minutes before you begin. This wait is especially important for coolant, which remains pressurized when hot.
Check the engine oil
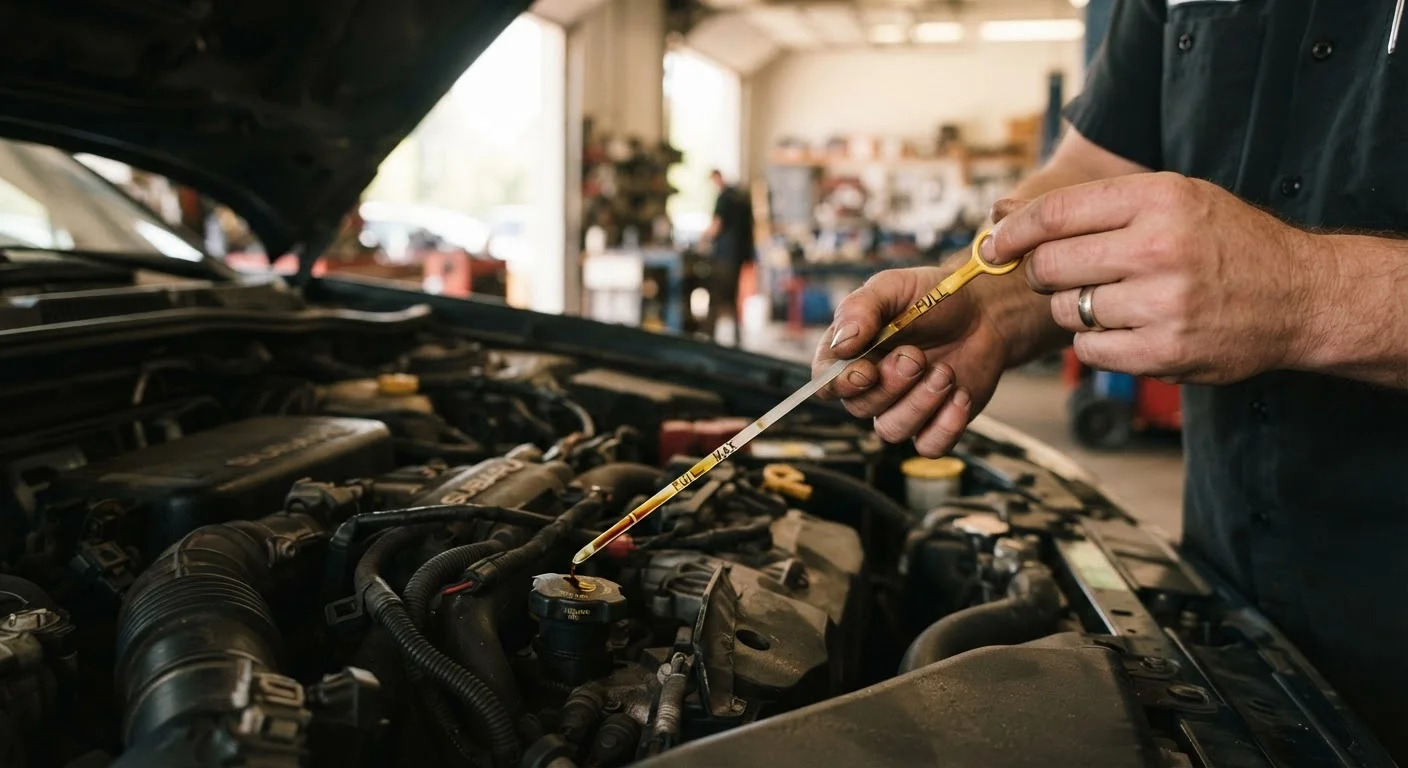
Locate the oil dipstick - typically marked with a bright handle near the front of the engine. Pull it out, wipe it clean with your rag, reinsert it fully, then pull it out again. The oil level should fall between the two marks (MIN and MAX, or similar). Also examine the oil's color: healthy oil ranges from amber to dark brown. Black, gritty, or milky oil signals it's time for a change or a mechanic's inspection.
Inspect the coolant (antifreeze) reservoir
The coolant reservoir is a translucent plastic tank, usually near the radiator, with MIN and MAX lines visible from the outside. You do not need to open it - simply read the level through the tank wall. Coolant is typically bright green, orange, or pink. A consistently low level warrants a professional inspection to rule out a leak in the cooling system.
Check the brake fluid
The brake fluid reservoir is a small, capped container near the back of the engine bay, usually on the driver's side. Many reservoirs are translucent, so you can check the level without opening the cap - look for the MIN/MAX markings. Brake fluid should be clear to light yellow. Dark fluid indicates contamination and reduced effectiveness.
If the level is noticeably low without explanation, have a qualified mechanic inspect the braking system promptly. A drop in brake fluid can signal a leak or worn brake pads. For a deeper explanation of how this system works, see brake system basics every driver should understand.
Check power steering and windshield washer fluid
Power steering fluid: If your vehicle has hydraulic power steering (many newer vehicles use electric power steering and have no fluid reservoir), locate the reservoir - often labeled with a steering wheel icon. Check the level via the dipstick attached to the cap or through the translucent reservoir wall. Low levels can cause whining noises and reduced steering responsiveness.
Windshield washer fluid: This is the simplest check. Find the reservoir marked with a windshield or water symbol, remove the cap, and visually confirm the fluid level. Use a washer fluid formulated for your climate - never plain water, which can freeze or leave mineral deposits.
When to Stop and See a Mechanic
If any fluid level drops significantly between checks - especially brake fluid or coolant - do not simply top it off and move on. A recurring low level almost always indicates a leak or a mechanical problem that needs professional diagnosis. Continuing to drive with an unresolved fluid issue can cause serious and expensive damage.
Recognizing Warning Signs and Next Steps
A fluid check is most valuable when you know what you're looking for beyond just the level. Keep these signals in mind:
- Engine oil: Black, gritty, or milky appearance warrants an oil change or mechanic visit.
- Coolant: Rust-colored or oily coolant may indicate internal engine contamination.
- Brake fluid: Dark color or a level below MIN requires professional attention before you drive further.
- Power steering fluid: Foamy fluid or a burning smell near the reservoir can signal a leak or pump issue.
Build It Into Your Routine
A monthly fluid check takes under 15 minutes and costs nothing. Pairing it with other regular tasks - like a tire pressure check - builds the kind of consistent maintenance habit that helps you catch small problems before they become large ones. Consider adding it to your annual car ownership review checklist.
Several other maintenance tasks follow a similar pattern of being easy to overlook until they cause trouble. Routine maintenance tasks that are often overlooked covers several services worth adding to your schedule.
This article is for general informational purposes only. Always consult your vehicle's owner's manual and a qualified mechanic for guidance specific to your make, model, and situation.