

Key Takeaways
Start here
Why a Minimal Kit Is the Best Place to Start
Next
The Essential Products Every Beginner Needs
Then
The Right Order of Application
Practice
Basic Techniques That Make a Real Difference
Keep going
Building Confidence as You Go
Why a Minimal Kit Is the Best Place to Start
Walking into a beauty aisle for the first time can feel like stepping into a foreign country with no map. Hundreds of products compete for your attention, and social media tutorials often feature ten-step routines that look nothing like everyday life. The good news: you genuinely don't need most of it.
A minimal kit — roughly five to six items — teaches you the fundamentals without the cost or the overwhelm. Each product you add after that builds on real skills you've already practiced. Think of it the same way you'd approach building your first budget: start with the essentials, understand what each piece does, and expand only when you have a clear reason to.
This approach also gives your skin a chance to adjust. Layering too many new products at once makes it hard to know what's working — or what isn't.
Coverage
How much a product conceals or evens out the skin. Light coverage lets more of your natural skin show through; full coverage obscures more discoloration and texture.
Finish
The final appearance a product gives to skin — matte (no shine), satin (slight sheen), or dewy (glowing, luminous). Different finishes suit different skin types and preferences.
Blending
The technique of softening the edges of any applied product so it looks seamlessly merged with the skin rather than sitting on top of it.
Setting
Applying a powder or spray over finished makeup to help it stay in place longer and reduce shine or movement throughout the day.
Undertone
The subtle hue beneath your skin's surface — typically warm (yellow or golden), cool (pink or bluish), or neutral. Matching your foundation's undertone to your own makes it look natural rather than chalky or orange.
Buildable formula
A product designed to be applied in thin layers, letting you control how much coverage or color intensity you achieve by adding more product gradually.
The Essential Products Every Beginner Needs
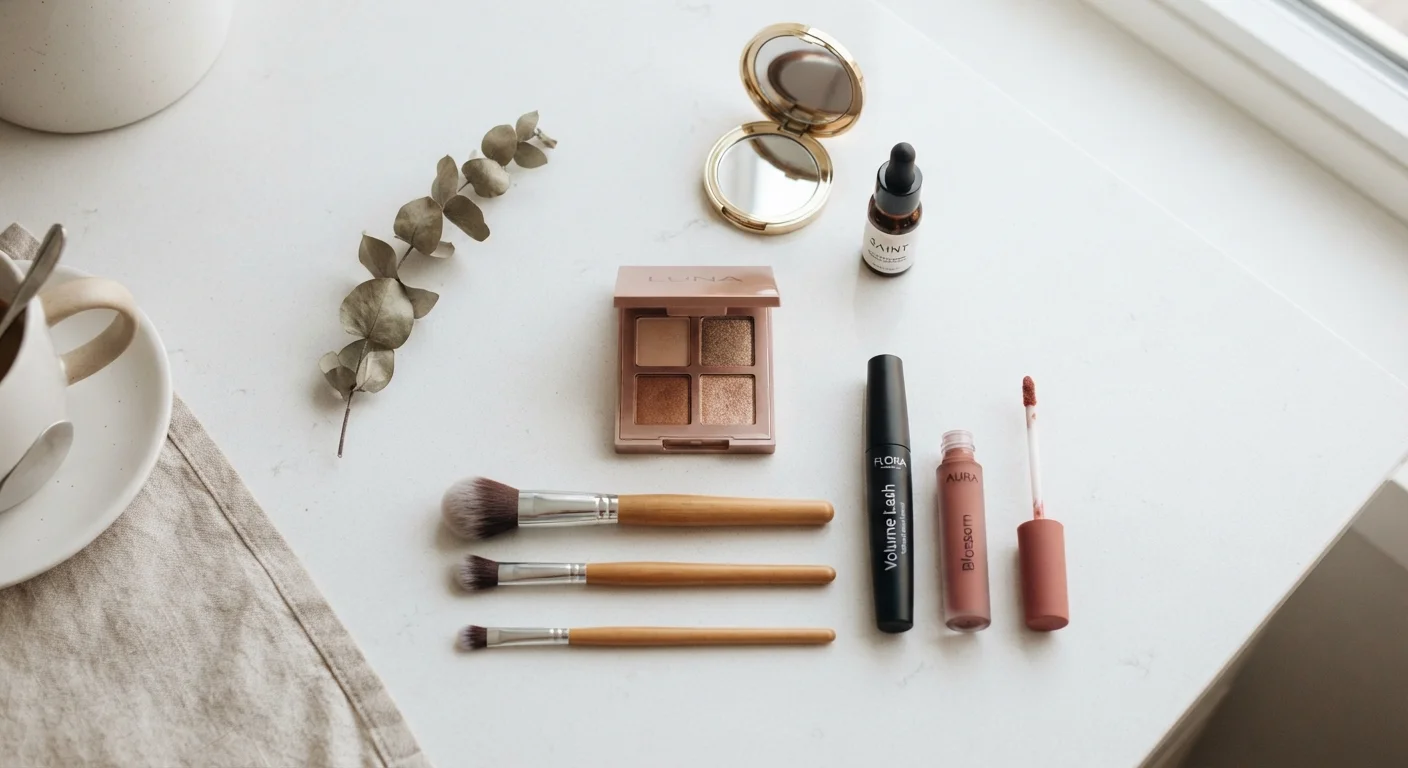
These five categories cover virtually every everyday look and give you room to practice real technique:
- Tinted moisturizer or light-coverage foundation: Evens out skin tone without feeling heavy. If you're unsure which format suits your skin, our comparison of tinted moisturizer, BB cream, and foundation breaks down the differences clearly.
- Concealer: Targets specific spots — under-eye shadows, blemishes, or redness — rather than covering the whole face.
- Mascara: Opens up the eyes with minimal effort. A single coat makes a noticeable difference for most people.
- A neutral eyeshadow or brow product: A matte taupe or soft brown can define eyes or brows and functions as an entry-level shaping tool.
- Lip color: A tinted balm or sheer lipstick adds polish and is easy to reapply throughout the day.
One or two inexpensive brushes or a small sponge round out a functional kit, though fingers work fine when starting out.
Shade-matching in store or online
When possible, swatch a foundation or concealer on your jawline — not your wrist or hand — since your face and neck tones often differ from your arm. If buying online, look for formulas described as 'buildable' or 'sheer' for a more forgiving first experience. Natural daylight is always the most accurate test.
The Right Order of Application
Makeup applied in the right sequence layers correctly and lasts longer. Here's a beginner-friendly order:
- Skin prep first: Apply your skincare — cleanser, moisturizer, SPF — and let it absorb for a minute or two. A well-prepped skin surface is the foundation everything else builds on. Our first-time skincare guide is a good companion resource here.
- Tinted moisturizer or foundation: Apply to the center of the face and blend outward toward the hairline and jaw.
- Concealer: Dot under eyes and on any spots, then pat — don't rub — to blend into the base underneath.
- Eye products: Eyeshadow before mascara, so fallout from the shadow doesn't land on finished under-eye skin.
- Lip color: Applied last keeps it clean and easy to touch up without disturbing other layers.
Setting the whole look with a light dusting of translucent powder is optional but helps everything stay in place longer, especially in warmer months.
Basic Techniques That Make a Real Difference
Products matter less than most beginners think — technique is what separates a polished result from a patchy one. Three fundamentals are worth practicing above all others:
Blend, then blend again
Hard edges are the most common beginner mistake. Whether you're applying concealer or eyeshadow, use small circular or tapping motions to soften every line. A damp sponge is particularly effective for seamlessly merging concealer into foundation.
Use less product than you think you need
It's far easier to add coverage than to remove it. Start with a small amount, assess in natural light, and build up only where needed.
Check your look in natural light
Bathroom lighting is notoriously misleading. Before you leave the house, take a quick look near a window. This catches unblended edges or uneven coverage that indoor lighting masks.
Developing a consistent morning routine helps these techniques become second nature. Our guide to building a morning grooming routine offers a practical framework for making new habits stick.
Watch for skin reactions to new products
New makeup products can occasionally cause irritation, especially around the eyes or on sensitive skin. If you notice redness, itching, or breakouts after introducing a product, stop using it and give your skin a few days to settle before trying something new. Introduce products one at a time whenever possible so the cause is easy to identify.
Building Confidence as You Go
Confidence with makeup is almost entirely a product of repetition. The first few times you apply anything new will feel awkward — that's completely normal. Most people find that after a week of daily practice, their speed and ease improve dramatically.
A few mindset shifts that help beginners stay motivated:
- Mistakes wash off. Unlike most skills, every failed attempt disappears with a little cleanser and a fresh start.
- There's no single correct look. Makeup is a personal tool, not a standard to meet. Your goal is to feel like yourself — maybe a slightly more polished version — not to replicate someone else's style.
- Introduce products gradually. When you're ready to expand your kit, add one new item at a time. This is good for your skill development and also helpful for your skin. The same logic behind our new product checklist applies to makeup: slow, intentional introductions help you understand what works for you.
Beauty is a broad world with room for every skill level, every budget, and every aesthetic. Starting small isn't a limitation — it's actually the most effective path to long-term confidence.